animation_director
A package to create nice and smooth animations for flutter
Introduction
A simple package to build beautiful and smooth animations for flutter framework. By using this package, you don’t need
to bother yourself with AnimationControllers, AnimationTweens and also timing and of those animations.
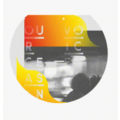
Here there are some simple examples of what I’ve made with this package in 5 minutes for each one.

The following descriptions may sounds complicated but it’s pretty simple, sorry for my bad english, I think if you jump to
example directory and take a look at the codes, you’ll find out it’s really easy to use
ActorWidget
Each object on the screen is called an ActorWidget.
ActorWidget has two required properties:
    @required String name;
    @required List<ActorAction> actions;
each ActorAction is an individual animation of the ActorWidget.
All ActorWidgets in your page run simultaneously.
All ActorActions inside of an ActorWidget run sequentially, but you can control how much it waits before starts the animation
using waitBeforeStart
  // ___________________________________
  ActorWidget(                          |
    name: 'Actor1',                     |
    actions: [                          |
      // ___________                    |
      ActorAction(  |                   |
        ...         |                   |
      ),            |                   |
      ActorAction(  |                   |
        ...         | (Sequentially)    | (Simultaneously)
      ),            |                   |
      ActorAction(  |                   |
        ...         |                   |
      )             |                   |
      // ___________|                   |
  ]),                                   |
  ActorWidget(),                        |
  ActorWidget(),                        |
  ActorWidget(),                        |
  // ___________________________________|
ActorAction Features
Each ActorAction has following features
    List<String> group; // you can define one or multi group for action.
    Function onCompleted;
    Function onStart;
    Duration waitBeforeStart; // the amount of time the current action must wait to start, after the previous action is finished
    ActorPath path;
    ActorPosition position;
    ActorOpacity opacity;
    ActorCharacter character;
    ActorRotation rotation;
    ActorScale scale;
if you want to animate some of your ActorWidgets, you can give a name to the actions of your actor. then start your AnimationDirector by that group.
Using this, only ActorWidgets which has the given group animate.
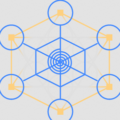
This is useful when you want to trigger an animation manually. see Example Menu3x3.
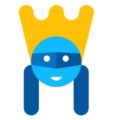
ActorCharacter
The actor character! your actor is represented by ActorCharacter.
ActorCharacter has the following properties:
    Duration duration;
    Curve curve;
    double width;
    double height;
    Widget child;
    String clipPath; // the string of the clip path
    EdgeInsets padding;
    EdgeInsets margin;
    BoxDecoration decoration;
BoxDecoration foregroundDecoration;Note: clipPath type is string! if follows svg codes rule. and for now only supports M, L, A, Q.
In order to generate a path you can use FlutterDev.site Path Creator.
Draw your path and copy The Result to the clipPath property
ActorPosition
You can animate the position of Actor using ActorPosition.
ActorPosition has the following properties
    Duration duration;
    Curve curve;
    double top;
    double left;
    double right;
    double bottom;
ActorOpacity
To change the opacity of your Actor.
ActorOpacity has the following properties
    Duration duration;
    Curve curve;
    double opacity;
ActorScale
To change the scale of your Actor.
ActorScale has the following properties
    Duration duration;
    Curve curve;
    double startScale;
    double finishScale;
ActorRotation
To rotate, flip horizontal or vertical your Actor widget, you can use ActorRotation.
ActorRotation has the following properties
    Duration duration;
    Curve curve;
    double rotationTurns;
    Alignment alignment;
    bool clockwise;
    double startTween;
    double verticalFlipTurns;
    double horizontalFlipTurns;
ActorPath
You can draw a path by using ActorPath. and if you define an ActorCharacter along with ActorPath, the character will
move along the created path.
To draw your path again use FlutterDev.site Path Creator.
ActorPath has the following properties
    Duration duration;
    Curve curve;
    String path; // the String code of the path
    int traversePercentage; // the percentage of `ActorCharacter` movement along the path
    int startPositionInPercent; // the start position of animation in percent
    bool displayPath; // displays the path on the screen,
    bool displayProgress; // displays the progress of path filling on the screen
    Offset offset; // you can align the position of ActorCharacter widget on the path
    Paint pathStyle; // style of the path line
    Paint progressStyle; // style of the progress line
    int progressLength; // the length of progress line, the default is as equal as the path
    int progressAnimationRepeat; // the repeat times of progress animation
    bool fadingProgress; // to make the tail of the progress line faded
Path Creator
In order to create paths easily head to FlutterDev.site Path Creator.
Draw your path and copy the generated code from The Result.
Adaptive Size
By default, the generated path is based on fixed numbers of your path and has the following effect
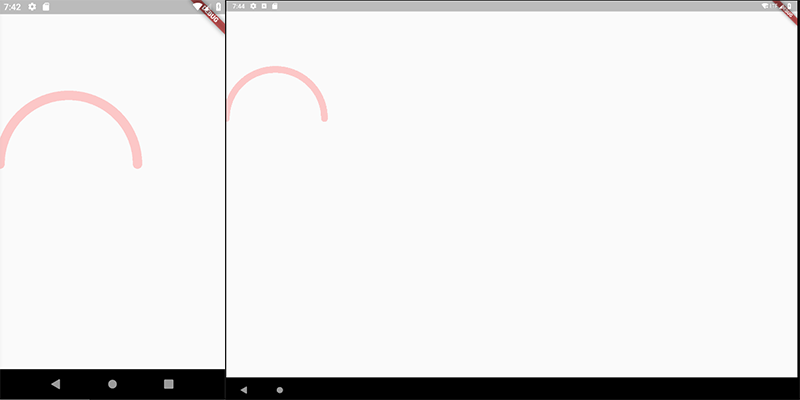
If you want to draw your path to be adaptive to the screen of any device, you need to select Adaptive Width
or Adaptive Height or both if you want your path to be fully adaptive.
When you select for example Adaptive Width, the drawing-area width will be considered as mobile,tablet,… width so you get following
effect with Adaptive Width. (500 for example)
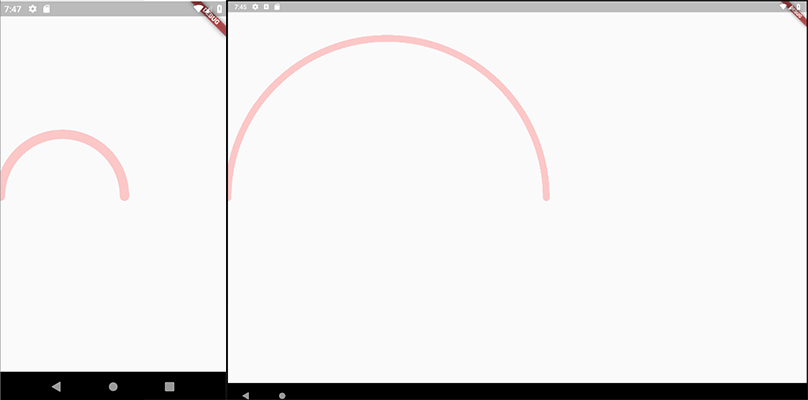
But keep in mind, in both cases, the result may be different on different screen-sizes.
Example
Let’s say we want to animate an orange circle from top-center of the screen to the center. Then after 2 seconds,
move the circle to the bottom of the page.
The first step is to create our character and position it to top of the page.
  ActorAction(
    position: ActorPosition(top: 0, left: 0, right: 0),
    character: ActorCharacter(
      child: Center(
        child: Container(
          width: 50,
          height: 50,
          decoration: BoxDecoration(
            color: Colors.orangeAccent,
            borderRadius: BorderRadius.circular(50),
          ),
        ),
      )
    ),
  ),
The second step is to move it to the center of the page, so let’s add another ActorAction
    ...
    ActorAction(
        position: ActorPosition(
          curve: Curves.elasticOut,
          duration: Duration(milliseconds: 800),
          top: MediaQuery.of(context).size.height / 2 - 25),
    ),
    ...
And the final step is to move our circle to the bottom of the page after 2 seconds
    ...
    ActorAction(
        waitBeforeStart: Duration(seconds: 2),
        position: ActorPosition(
          duration: Duration(milliseconds: 800),
          curve: Curves.elasticOut,
          top: MediaQuery.of(context).size.height - 100),
    ),
    ...
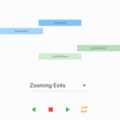
and you get the following result
Source Code
Please Visit Flutter Animation Director Source Code at GitHub