Flutter widget that automatically resizes text to fit perfectly within its bounds.
Show some ❤️ and star the repo to support the project
Resources:
Also check out the blazing fast key-value store hive.
Contents
Usage
AutoSizeText behaves exactly like a Text. The only difference is that it resizes text to fit within its bounds.
AutoSizeText(
  'The text to display',
  style: TextStyle(fontSize: 20),
  maxLines: 2,
)
Note: AutoSizeText needs bounded constraints to resize the text. More info here.
maxLines
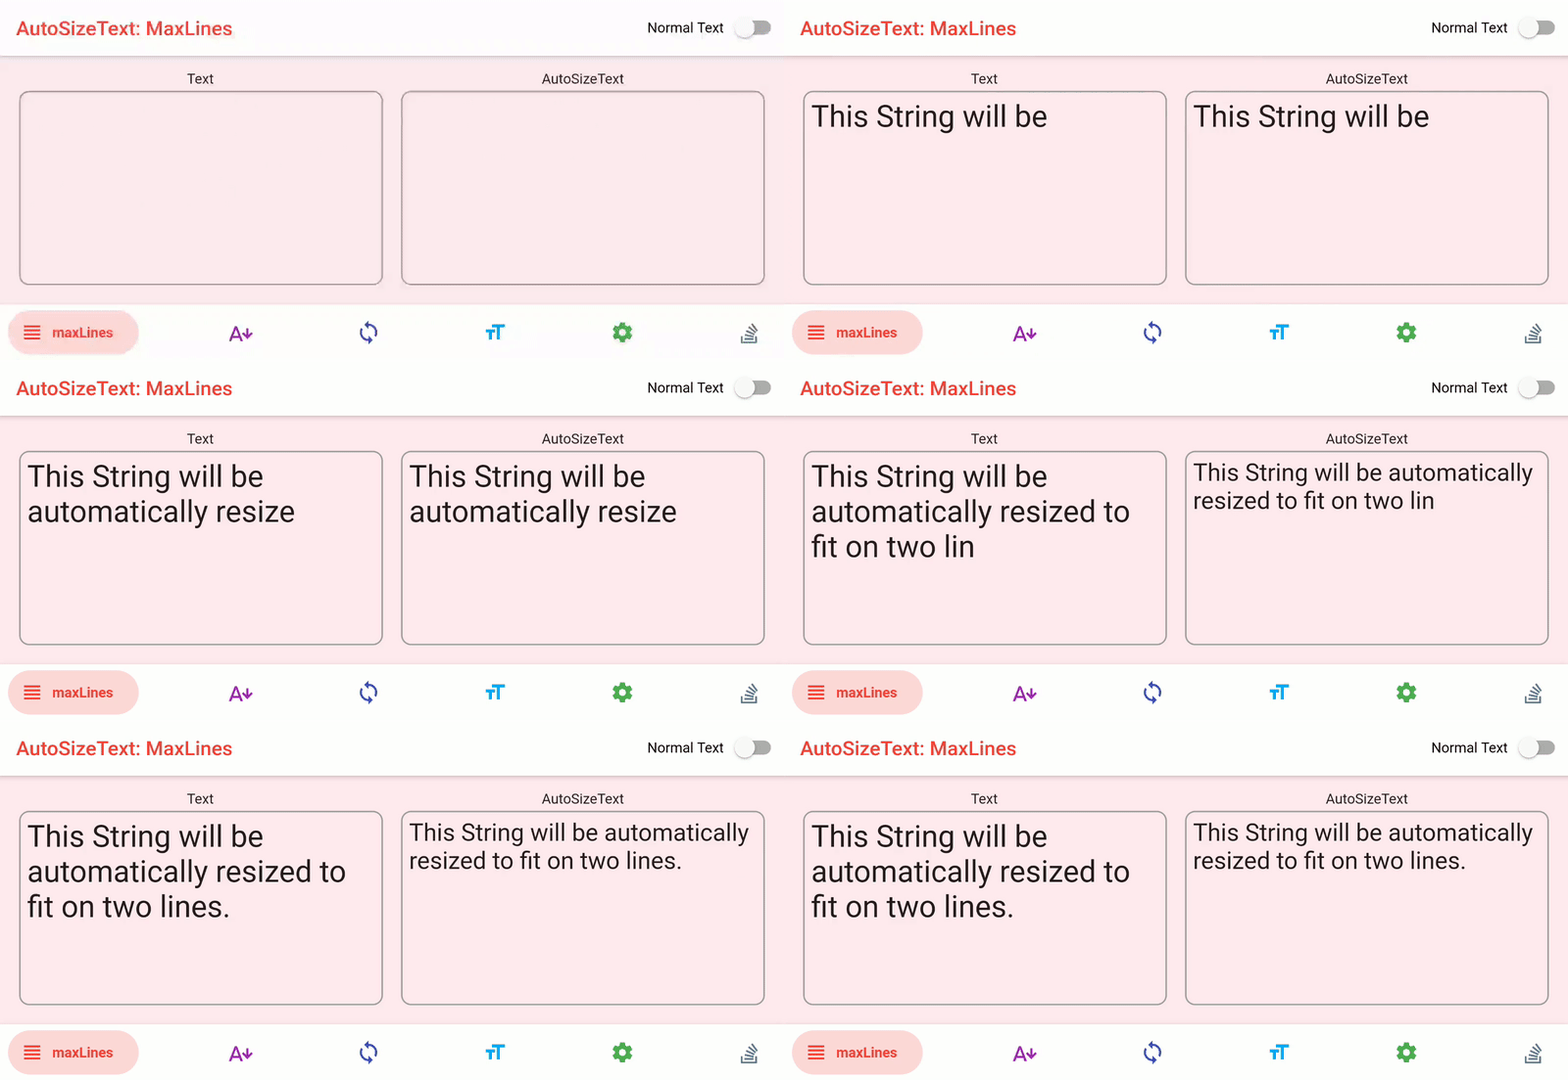
The maxLines parameter works like you are used to with the Text widget. If there is no maxLines parameter specified, the AutoSizeText only fits the text according to the available width and height.
AutoSizeText(
  'A really long String',
  style: TextStyle(fontSize: 30),
  maxLines: 2,
)
Sample above
minFontSize & maxFontSize
The AutoSizeText starts with TextStyle.fontSize. It measures the resulting text and rescales it to fit within its bonds. You can however set the allowed range of the resulting font size.
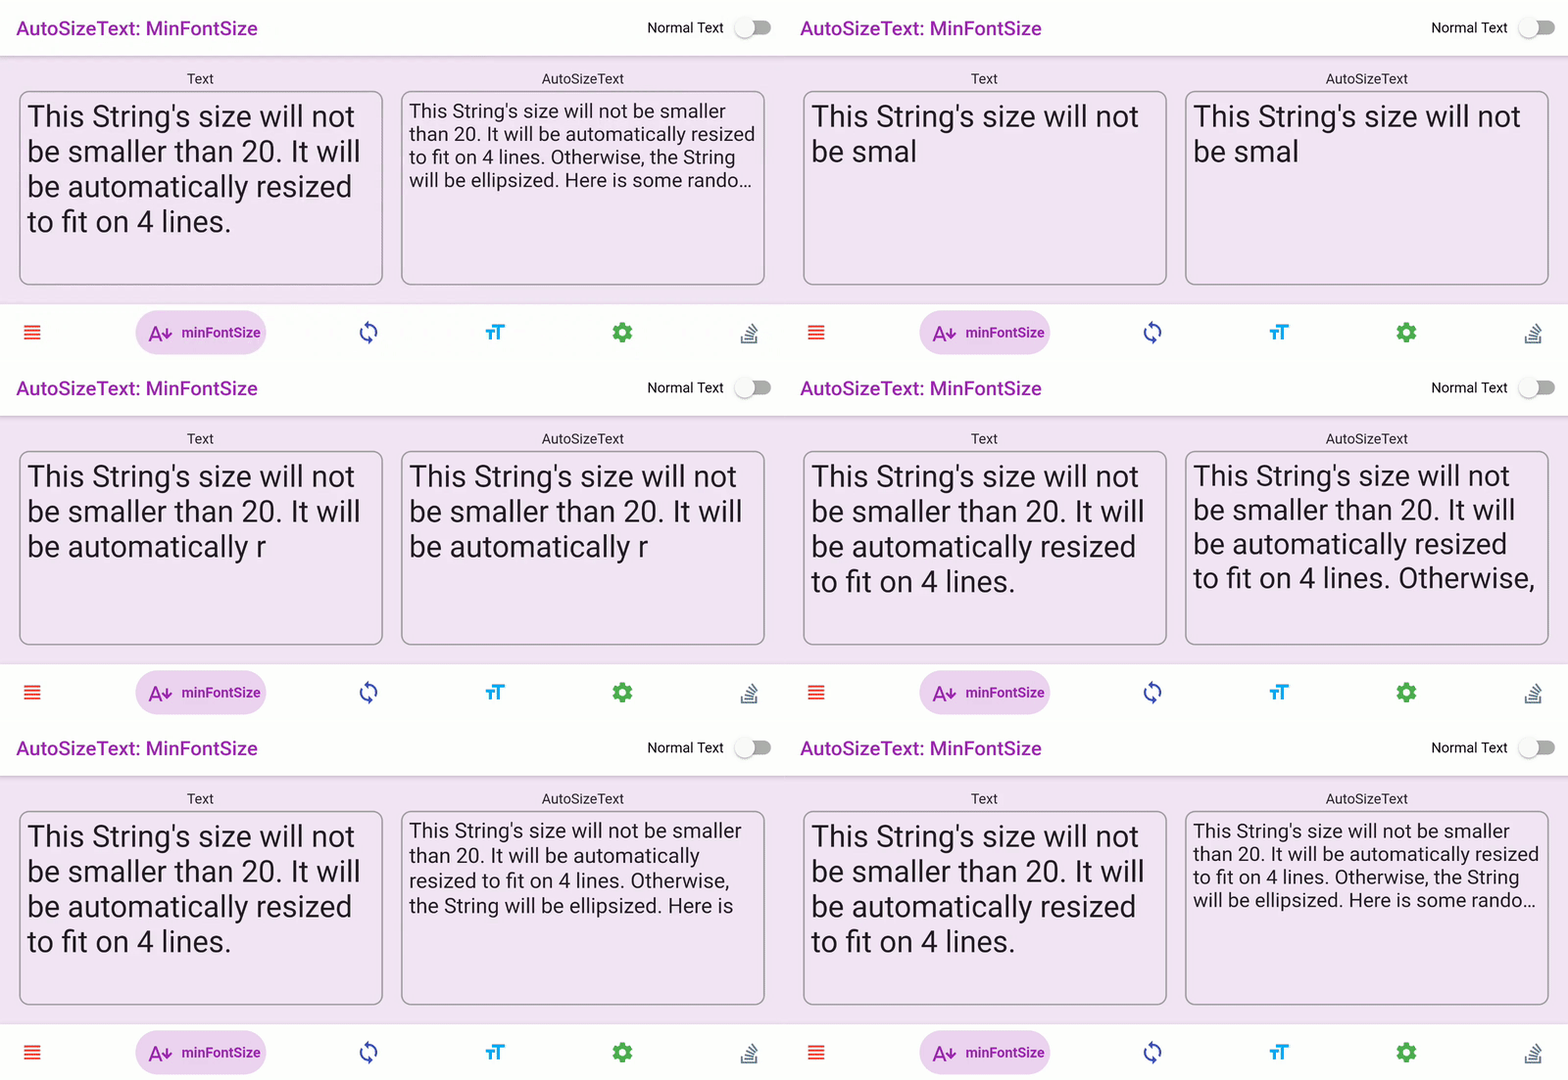
With minFontSize you can specify the smallest possible font size. If the text still doesn’t fit, it will be handled according to overflow. The default minFontSize is 12.
maxFontSize sets the largest possible font size. This is useful if the TextStyle inherits the font size and you want to constrain it.
AutoSizeText(
  'A really long String',
  style: TextStyle(fontSize: 30),
  minFontSize: 18,
  maxLines: 4,
  overflow: TextOverflow.ellipsis,
)
group
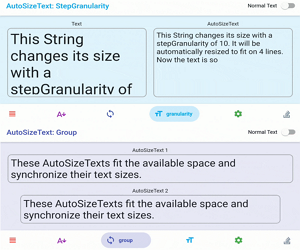
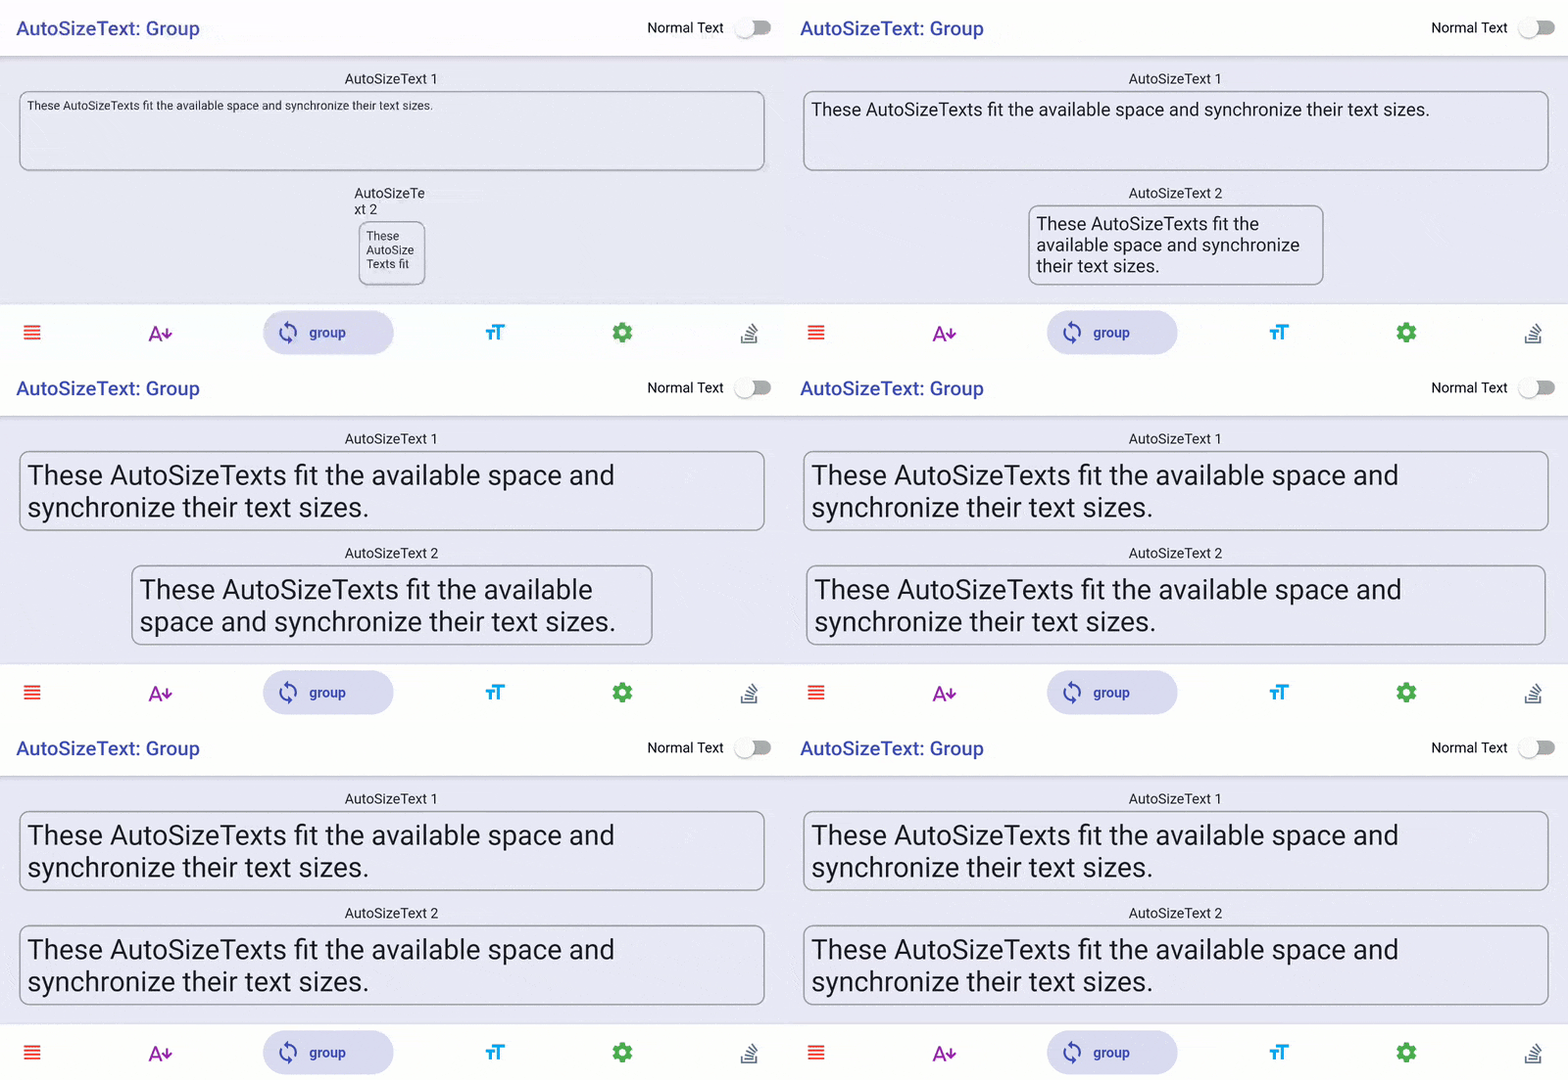
You can synchronize the font size of multiple AutoSizeText. They will fit their boundaries and all AutoSizeText in the same group have the same size. That means they adjust their font size to the group member with the smallest effective font size.
Note: If a AutoSizeText cannot adjust because of constraints like minFontSize, it won’t have the same size as the other group members.
An instance of AutoSizeGroup represents one group. Pass this instance to all AutoSizeText you want to add to that group. You don’t have to care about disposing the group if it is no longer needed.
Important: Please don’t pass a new instance of AutoSizeGroup every build. In other words, save the AutoSizeGroup instance in a StatefulWidget.
var myGroup = AutoSizeGroup();

AutoSizeText(
  'Text 1',
  group: myGroup,
);

AutoSizeText(
  'Text 2',
  group: myGroup,
);
stepGranularity
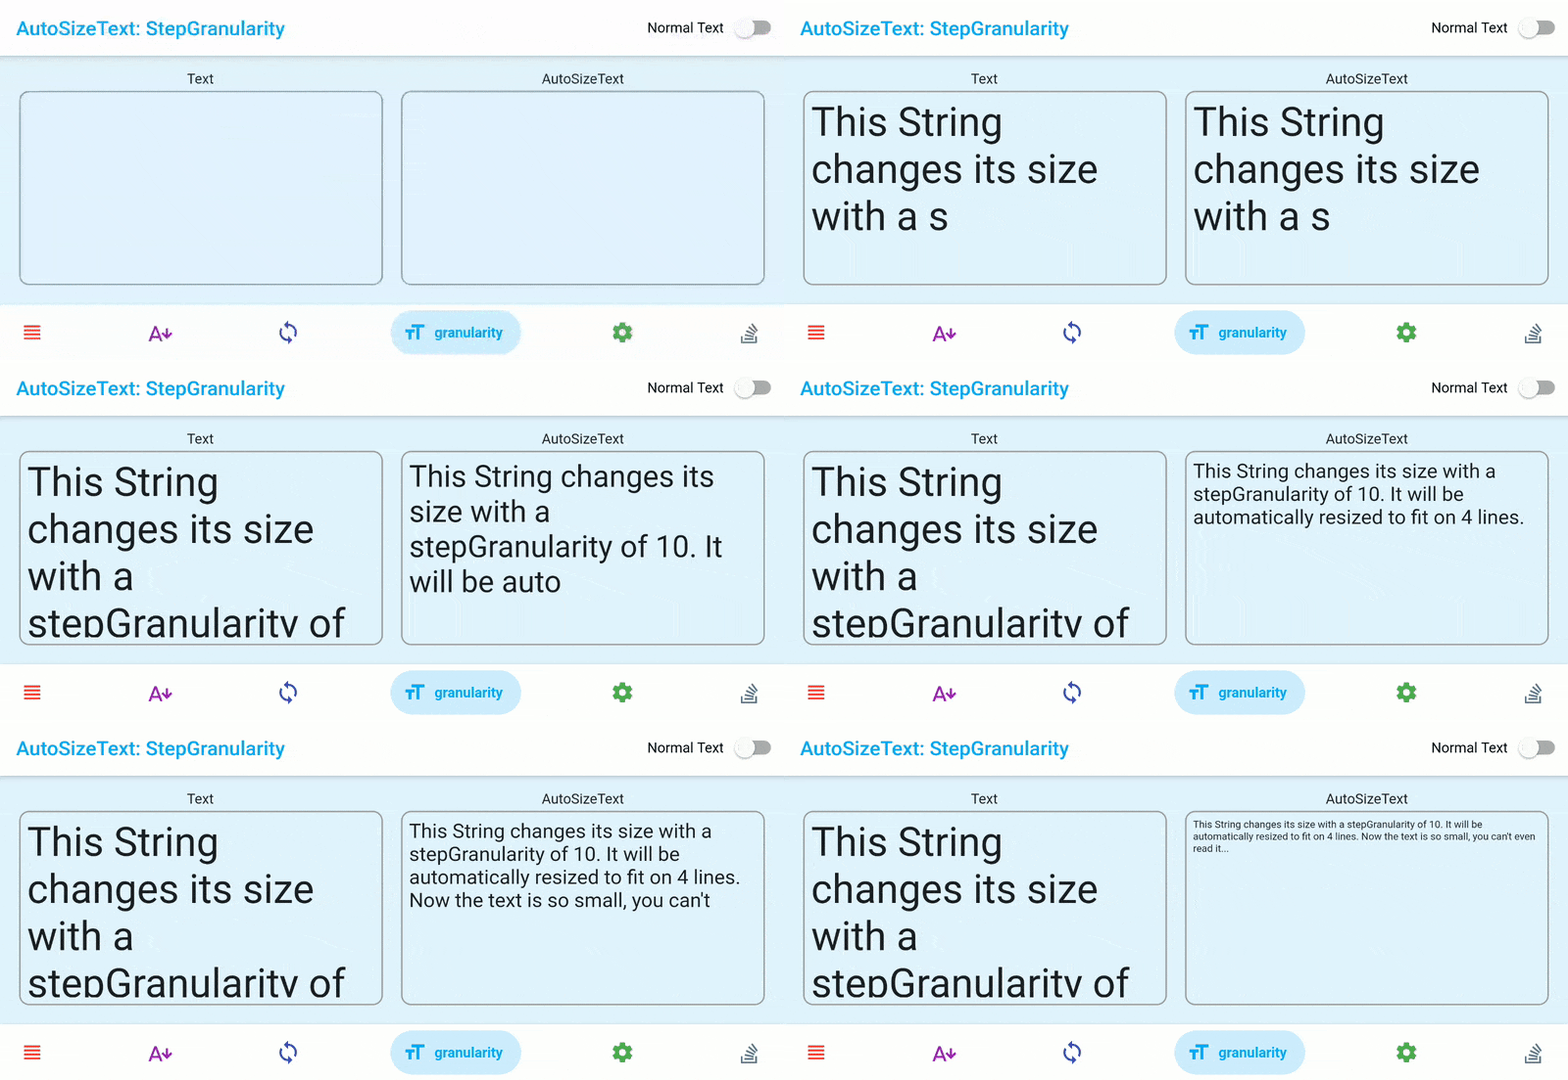
The AutoSizeText will try each font size, starting with TextStyle.fontSize until the text fits within its bounds.
stepGranularity specifies how much the font size is decreased each step. Usually, this value should not be below 1 for best performance.
AutoSizeText(
  'A really long String',
  style: TextStyle(fontSize: 40),
  minFontSize: 10,
  stepGranularity: 10,
  maxLines: 4,
  overflow: TextOverflow.ellipsis,
)
presetFontSizes
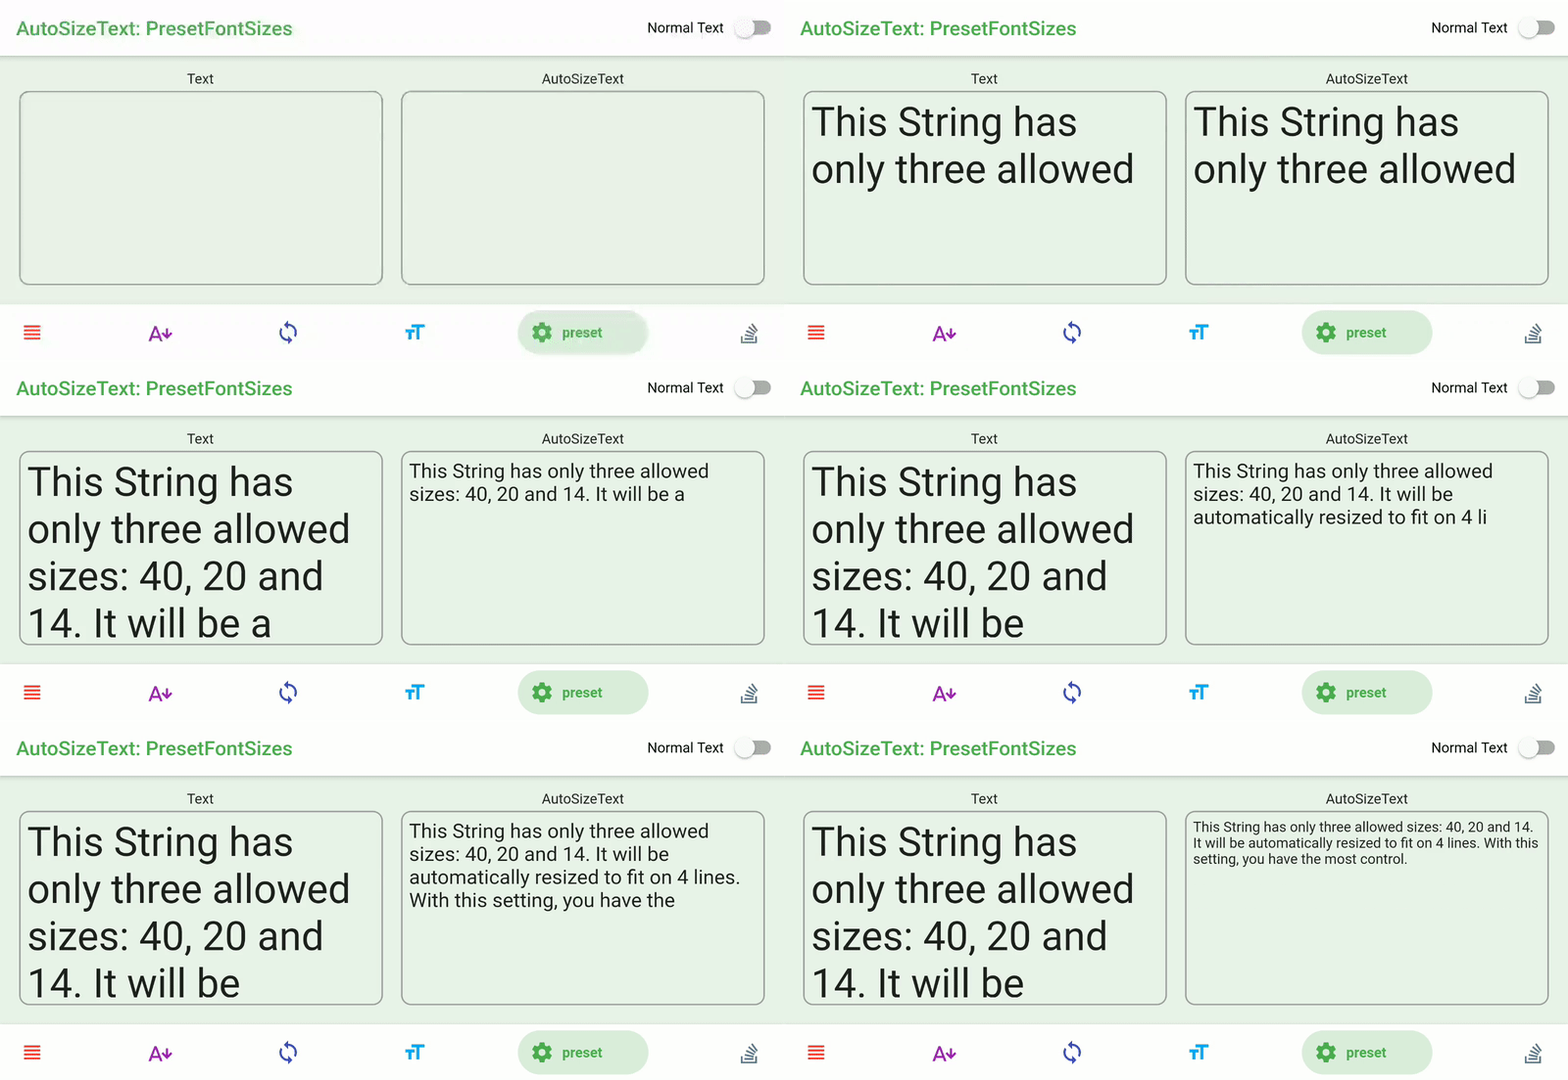
If you want to allow only specific font sizes, you can set them with presetFontSizes.
If presetFontSizes is set, minFontSize, maxFontSize and stepGranularity will be ignored.
AutoSizeText(
  'A really long String',
  presetFontSizes: [40, 20, 14],
  maxLines: 4,
)
overflowReplacement
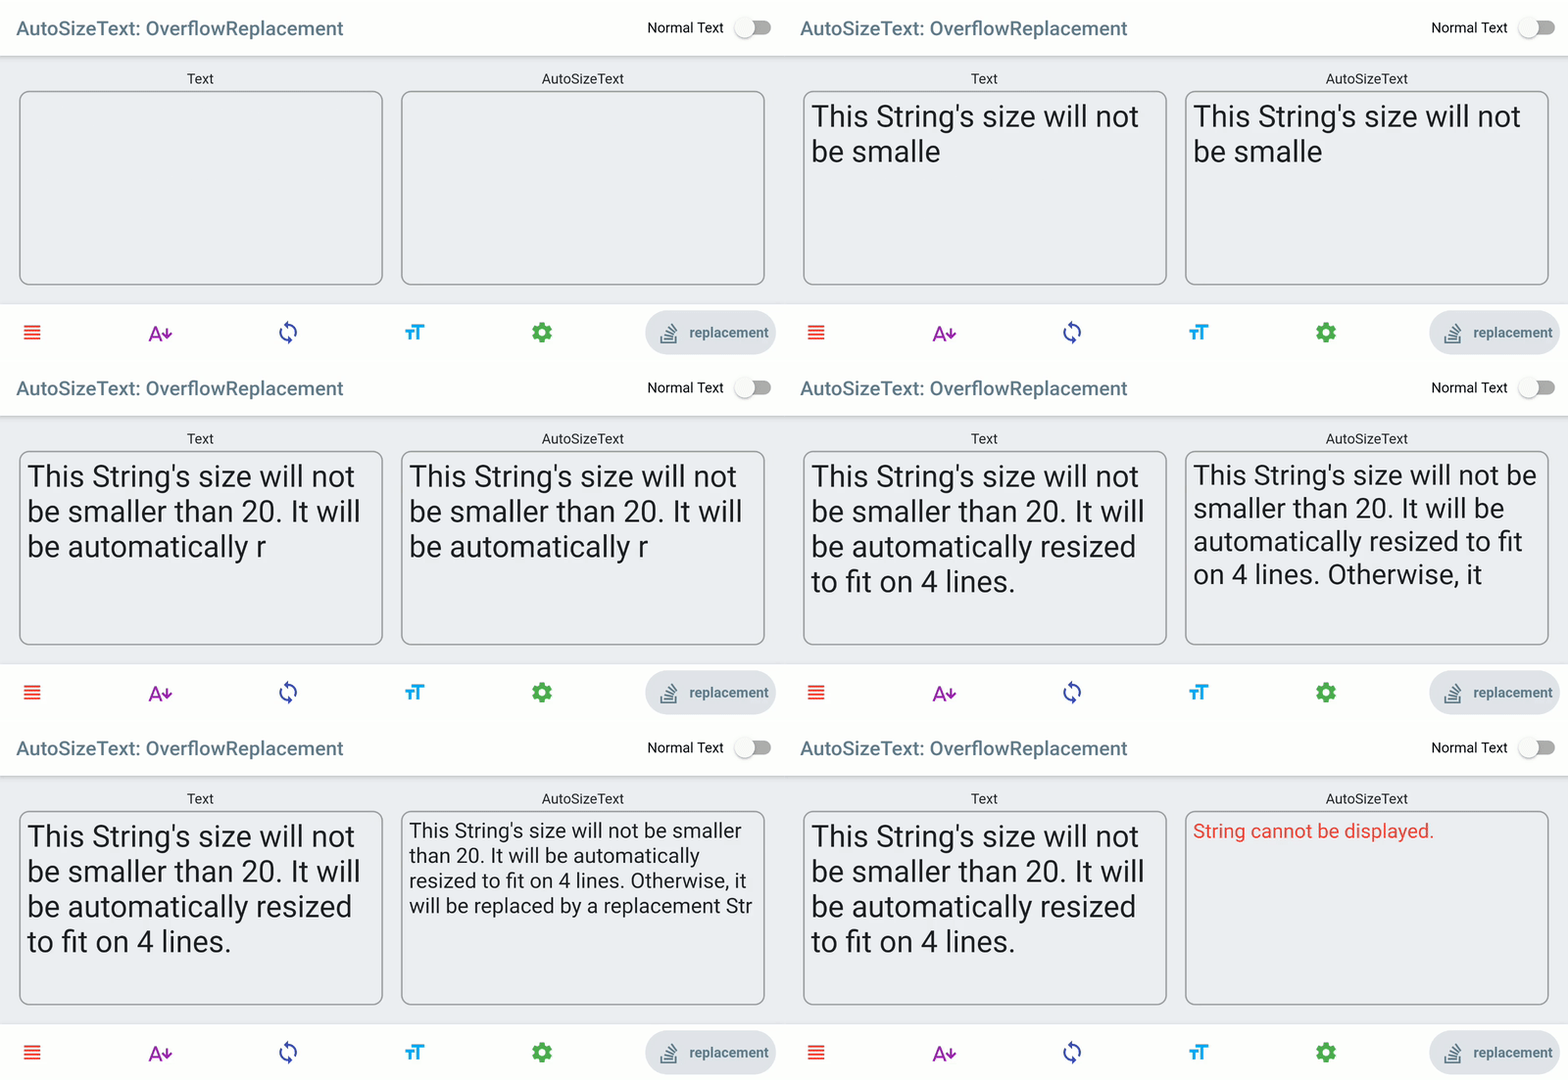
If the text is overflowing and does not fit its bounds, this widget is displayed instead. This can be useful to prevent text being too small to read.
AutoSizeText(
  'A String tool long to display without extreme scaling or overflow.',
  maxLines: 1,
  overflowReplacement: Text('Sorry String too long'),
)
Rich Text
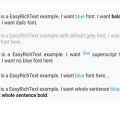
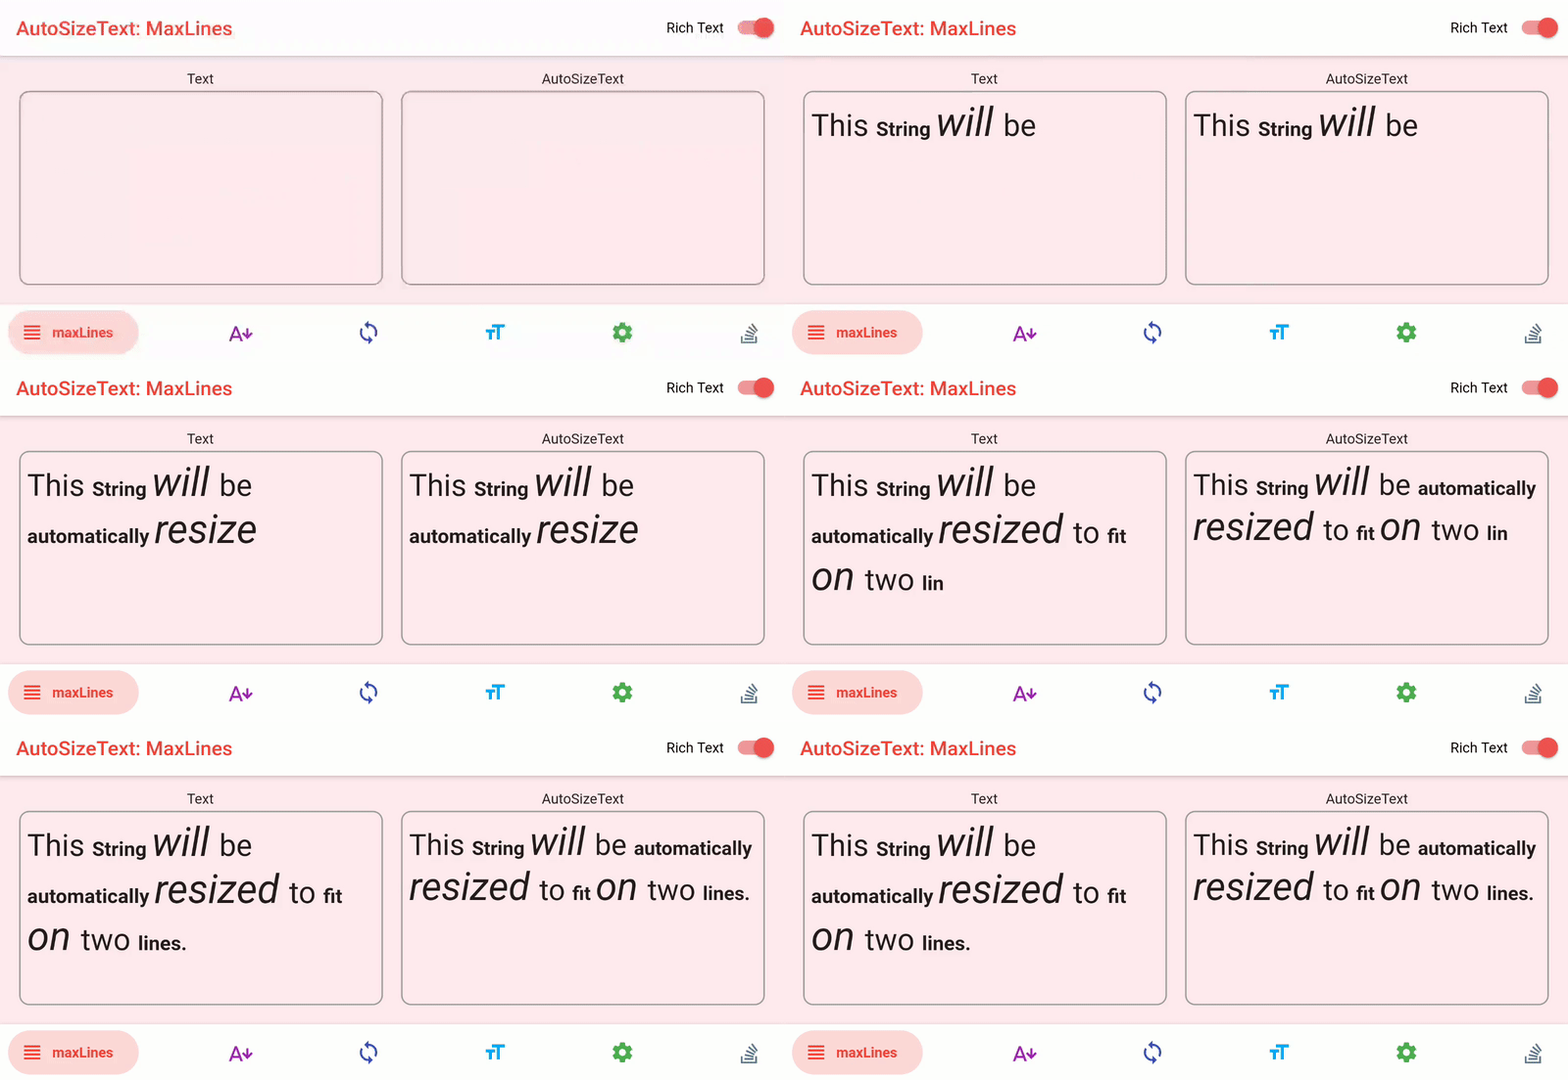
You can also use Rich Text (like different text styles or links) with AutoSizeText. Just use the AutoSizeText.rich() constructor
(which works exactly like the Text.rich() constructor).
The only thing you have to be aware of is how the font size calculation works: The fontSize in the style
parameter of AutoSizeText (or the inherited fontSize if none is set) is used as reference.
For example:
AutoSizeText.rich(
  TextSpan(text: 'A really long String'),
  style: TextStyle(fontSize: 20),
  minFontSize: 5,
)
The text will be at least 1/4 of its original size (5 / 20 = 1/4).
But it does not mean that all TextSpans have at least font size 5.
Parameters
| Parameter | Description |
|---|---|
key* |
Controls how one widget replaces another widget in the tree. |
textKey |
Sets the key for the resulting Text widget |
style* |
If non-null, the style to use for this text |
minFontSize |
The minimum text size constraint to be used when auto-sizing text. Is being ignored if presetFontSizes is set. |
maxFontSize |
The maximum text size constraint to be used when auto-sizing text. Is being ignored if presetFontSizes is set. |
stepGranularity |
The step size in which the font size is being adapted to constraints. |
presetFontSizes |
Predefines all the possible font sizes. Important: presetFontSizes have to be in descending order. |
group |
Synchronizes the size of multiple AutoSizeTexts |
textAlign* |
How the text should be aligned horizontally. |
textDirection* |
The directionality of the text. This decides how textAlign values like TextAlign.start and TextAlign.end are interpreted. |
locale* |
Used to select a font when the same Unicode character can be rendered differently, depending on the locale. |
softWrap* |
Whether the text should break at soft line breaks. |
wrapWords |
Whether words which don’t fit in one line should be wrapped. Defaults to true to behave like Text. |
overflow* |
How visual overflow should be handled. |
overflowReplacement |
If the text is overflowing and does not fit its bounds, this widget is displayed instead. |
textScaleFactor* |
The number of font pixels for each logical pixel. Also affects minFontSize, maxFontSize and presetFontSizes. |
maxLines |
An optional maximum number of lines for the text to span. |
semanticsLabel* |
An alternative semantics label for this text. |
Parameters marked with * behave exactly the same as in Text
Performance
AutoSizeText is really fast. In fact, you can replace all your Text widgets with AutoSizeText.
Nevertheless you should not use an unreasonable high fontSize in your TextStyle. E.g. don’t set the fontSize to 1000 if you know, that the text will never be larger than 30.
If your font size has a very large range, consider increasing stepGranularity.
Troubleshooting
Missing bounds
If AutoSizeText overflows or does not resize the text, you should check if it has constrained width and height.
Wrong code:
Row(
  children: <Widget>[
    AutoSizeText(
      'Here is a very long text, which should be resized',
      maxLines: 1,
    ),
  ],
)
Because Row and other widgets like Container, Column or ListView do not constrain their children, the text will overflow.
You can fix this by constraining the AutoSizeText. Wrap it with Expanded in case of Row and Column or use a SizedBox or another widget with fixed width (and height).
Correct code:
Row(
  children: <Widget>[
    Expanded( // Constrains AutoSizeText to the width of the Row
      child: AutoSizeText(
        'Here is a very long text, which should be resized',
        maxLines: 1,
      )
    ),
  ],
)
}
Further explanation can be found here. If you still have problems, please open an issue.
MinFontSize too large
AutoSizeText does not resize text below the minFontSize which defaults to 12. This can happen very easily if you use AutoSizeText.rich():
Wrong code:
AutoSizeText.rich(
  TextSpan(
    text: 'Text that will not be resized correctly in some cases',
    style: TextStyle(fontSize: 200),
  ),
)
This rich text does not have a style so it will fall back to the default style (probably fontSize = 14). It has an implicit minFontSize of 12 that means it can be resized to 86% of its original size at the most (14 -> 12). Just set minFontSize = 0 or add style: TextStyle(fontSize: 200) to the AutoSizeText.
Note: If you use the first option, you should also consider lowering stepGranularity. Otherwise the steps of resizing will be very large.
Correct code:
AutoSizeText.rich(
  TextSpan(
    text: 'Text that will be resized correctly',
    style: TextStyle(fontSize: 200),
  ),
  minFontSize: 0,
  stepGranularity: 0.1,
)
Source Code
Please Visit Auto Size Text Flutter Widget Source code at GitHub


